
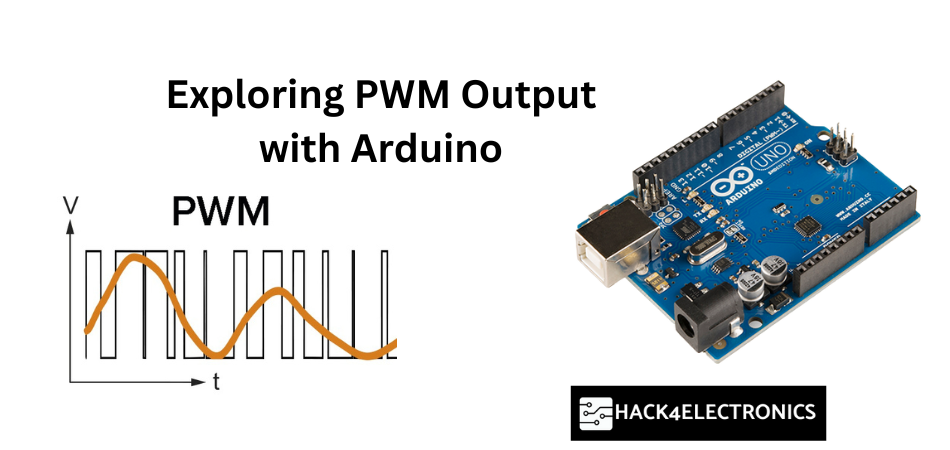
Pulse Width Modulation (PWM) is a technique that allows us to mimic analog output using digital signals. With PWM, we can create the illusion of varying voltage levels by rapidly pulsing the output signal on and off. This technique finds applications in controlling the brightness of LEDs, speed of motors, and more. In this article, we will explore PWM output using an Arduino board and focus on gradually increasing and decreasing the brightness of an LED.
Understanding PWM Output
PWM output involves generating a square wave with varying duty cycle, where the ratio of the pulse’s “on” time (high voltage level) to its “off” time (low voltage level) determines the average voltage seen at the output. By adjusting the duty cycle, we can control the perceived level of analog output. Arduino boards have dedicated pins capable of producing PWM signals, enabling precise control over the output.
PWM Pins in Arduino uno
PWM pins on Arduino are specific digital pins that have the ability to produce PWM signals. Here are some important points to note about PWM pins in Arduino:
- Number of PWM Pins: Arduino boards have a limited number of PWM pins available, which varies depending on the board model. For example, Arduino Uno has six PWM pins labeled as 3, 5, 6, 9, 10, and 11. Arduino Mega boards have many more PWM pins, while other boards may have a different PWM pin configuration.
- Pins with PWM Capability: Not all digital pins on an Arduino board can produce PWM signals. Only specific pins are assigned as PWM pins, usually marked with a “~” symbol next to the pin number on the board or in the documentation.
- PWM Signal Generation: PWM signals are generated by rapidly turning the digital output pin on and off at a fixed frequency. The ratio of the “on” time (high voltage level) to the “off” time (low voltage level) determines the perceived analog voltage level.
- Resolution: The resolution of PWM signals refers to the number of distinct levels or steps within a single PWM period. Arduino boards typically have 8-bit PWM resolution, which means there are 256 possible levels ranging from 0 (fully off) to 255 (fully on).
- analogWrite() Function: The
analogWrite()function in the Arduino programming language is used to control PWM outputs. It accepts two arguments: the PWM pin number and the desired output value, ranging from 0 to 255.
Arduino Uno board, there are a total of six PWM (Pulse Width Modulation) pins available. These pins are labeled with a “~” symbol next to the pin number on the board. The PWM pins on the Arduino Uno are as follows:
- Pin 3: This pin supports PWM functionality.
- Pin 5: This pin supports PWM functionality.
- Pin 6: This pin supports PWM functionality.
- Pin 9: This pin supports PWM functionality.
- Pin 10: This pin supports PWM functionality.
- Pin 11: This pin supports PWM functionality.
These PWM pins allow you to control the output analog voltage levels by varying the duty cycle of the PWM signal. By adjusting the duty cycle, you can simulate analog control for components such as LEDs, motors, and servos, enabling precise control over their behavior
Note: PWM pins are primarily designed for controlling analog-like outputs. They are not suitable for driving high-current loads directly. In such cases, additional components like transistors or motor drivers should be used to handle the required current.
Circuit Diagram

Example Code
The following code snippet demonstrates the use of PWM output to gradually increase and decrease the brightness of an LED:
int ledPin = 9; // PWM pin for the LED

void setup() {
  // No setup needed in this example
}

void loop() {
  for (int i = 0; i <= 255; i++) { // Ascending value for i
    analogWrite(ledPin, i); // Sets the brightness level to i
    delay(100); // Pauses for 100ms
  }

  for (int i = 255; i >= 0; i--) { // Descending value for i
    analogWrite(ledPin, i); // Sets the brightness level to i
    delay(100); // Pauses for 100ms
  }
}
Explanation of the Code
In the provided code, we use the analogWrite() function to control the PWM output. The ledPin is specified as the output pin connected to the LED. Within the loop() function, the first for loop gradually increases the brightness of the LED from 0 to 255 (maximum brightness) in steps. The second for loop then decreases the brightness from 255 back to 0. The delay(100) statements introduce a 100ms pause between each brightness level change, resulting in a smooth transition.
Conclusion
PWM output is a powerful technique that allows us to simulate analog control using digital signals. Arduino boards provide dedicated pins capable of generating PWM signals, enabling precise control over various components such as LEDs and motors. This article introduced the concept of PWM output and provided an example code snippet for gradually increasing and decreasing the brightness of an LED.
Within this platform, explore a variety virtual gambling platforms.
Whether you’re looking for traditional options new slot machines, there’s a choice for every player.
Every casino included fully reviewed to ensure security, enabling gamers to bet with confidence.
gambling
Moreover, the platform unique promotions and deals for new players as well as regulars.
Due to simple access, locating a preferred platform happens in no time, making it convenient.
Stay updated on recent updates with frequent visits, since new casinos are added regularly.
Here, explore a variety internet-based casino sites.
Interested in classic games new slot machines, there’s a choice to suit all preferences.
Every casino included checked thoroughly for safety, enabling gamers to bet securely.
casino
What’s more, the platform provides special rewards and deals to welcome beginners including long-term users.
Due to simple access, discovering a suitable site takes just moments, enhancing your experience.
Keep informed about the latest additions with frequent visits, because updated platforms appear consistently.
Within this platform, you can discover an extensive selection internet-based casino sites.
Searching for classic games new slot machines, you’ll find an option for every player.
All featured casinos fully reviewed for trustworthiness, so you can play securely.
1win
What’s more, this resource provides special rewards along with offers for new players and loyal customers.
Due to simple access, locating a preferred platform happens in no time, saving you time.
Stay updated regarding new entries by visiting frequently, because updated platforms appear consistently.
Your point of view caught my eye and was very interesting. Thanks. I have a question for you.